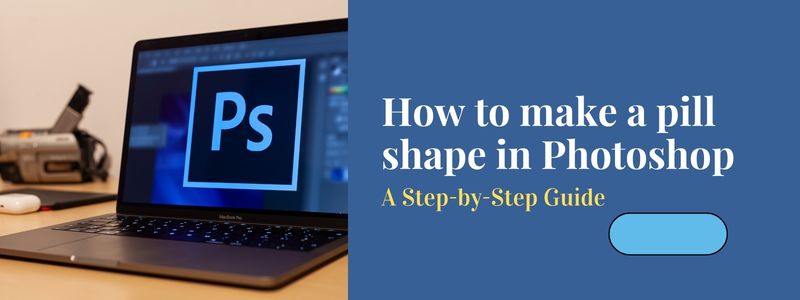
As a designer, you may come across a project that requires you to create a realistic pill shape in Photoshop. Whether it’s for a pharmaceutical company or a health-related startup, creating a believable pill shape can be challenging.
But with the right tools and techniques, it’s possible to create a convincing pill shape that will impress your clients. In this tutorial, we’ll show you how to make a pill shape in photoshop that looks realistic, step-by-step. And if you want someone else to do it for you then check out our vector design services.
Software and Tools
To follow this tutorial, you’ll need Adobe Photoshop and a basic understanding of the software’s tools. We’ll be using the Ellipse Tool, Direct Selection Tool, Layer Styles, and Layer Mask. Additionally, it is helpful if you have a graphics tablet as it allows for more precision when working with shapes.
Step-by-Step Process to make a pill shape in photoshop:
Create a new document in Photoshop
The size of the document will depend on the final use of the pill shape. This can be done by going to File>New or by using the shortcut Ctrl+N (Windows) or Command+N (Mac).
Use the Ellipse Tool to create a circle shape
This will be the base shape for our pill. The Ellipse Tool can be found in the toolbar, or by pressing U on the keyboard.
Use the Direct Selection Tool to adjust the shape as desired
For example, you can make one side of the circle slightly flatter to give the impression of a pill shape. The Direct Selection Tool can be found in the toolbar or by pressing A on the keyboard.
Apply a gradient to the shape to give it a 3D look
This can be done by using the Gradient Tool and selecting a suitable gradient from the options. The Gradient Tool can be found in the toolbar or by pressing G on the keyboard.
Use the Layer Styles to add a bevel and emboss effect to the shape
This will give the pill a more realistic look and feel. Layer Styles can be accessed by right-clicking on the layer in the Layers palette.
Use the Layer Mask to blend the edges of the pill shape with the background
This will give the pill a more natural look and feel. A Layer Mask can be added by clicking on the Layer Mask button in the Layers palette.
Add any additional details, such as a glossy finish or text
This can be done by using Layer Styles and the Brush Tool. The Brush Tool can be found in the toolbar or by pressing B on the keyboard.
Conclusion
Creating a realistic pill shape in Photoshop may seem difficult at first, but with the right tools and techniques, it’s possible to create a convincing pill shape that will impress your clients. By following the steps outlined in this tutorial, you’ll be able to create a believable pill shape in no time. Remember to play around with the different tools and settings to find the perfect look for your project.