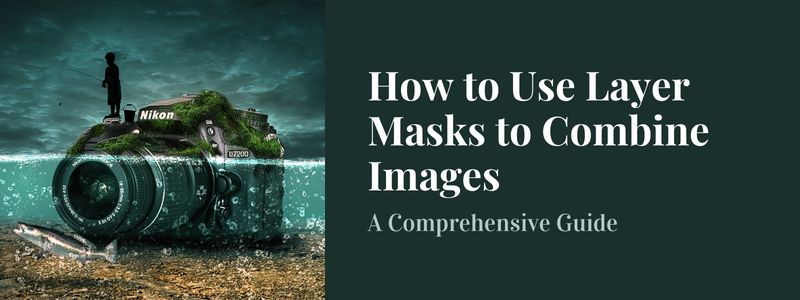
Layer masks are a powerful tool in image editing that allow you to seamlessly combine images and create stunning composites. They are an essential tool for photographers, graphic designers, and digital artists. In this article, we will explore how layer masks work and how to use them to combine images in Photoshop.
Understanding Layer Masks
Before we dive into how to use layer masks to combine images, it’s important to understand what layer masks are and how they work. In Photoshop, a layer mask is a grayscale image that is used to hide or reveal parts of a layer. White areas of the mask will reveal the underlying layer, while black areas will hide it. Gray areas will partially reveal or hide the layer depending on the level of gray.
Layer masks are different from clipping masks, which are used to mask an entire layer rather than specific parts of it. To create a new layer mask, simply right-click on a layer in the Layers panel and select “Add Layer Mask.”
3 Methods of Combining Images with Layer Masks
Method 1: Using a Brush Tool
There are several methods for combining images with layer masks in Photoshop. The first method is to use a brush tool to paint on a layer mask. This allows you to manually paint over the areas of the image that you want to reveal or hide.
Step-by-Step Instructions:
- Open both images in Photoshop and drag one image into the other.
- Add a layer mask to the top layer.
- Select the brush tool and set the foreground color to white.
- Begin painting over the areas of the top layer that you want to reveal.
- Use the eraser tool to remove any areas that you accidentally painted.
Tips for Achieving a Seamless Blend:
- Lower the brush opacity to create a more natural blend.
- Use a soft brush for blending.
- Use the clone stamp tool to blend hard edges.
Using a Selection Tool
The second method is to use a selection tool to create a layer mask. This allows you to make precise selections and mask specific parts of the image.
Step-by-Step Instructions:
- Open both images in Photoshop and drag one image into the other.
- Add a layer mask to the top layer.
- Select the lasso tool or the Magic Wand tool.
- Make a selection around the area that you want to reveal.
- Invert the selection and fill it with black to hide that area.
Tips for Making Precise Selections:
- Use the refine edge tool to refine the selection.
- Use the magic wand tool to select similar colors or tones.
- Use the lasso tool to make a freehand selection.
Using a Gradient Tool
The third method is to use a gradient tool to create a layer mask. This allows you to create a smooth transition between the two images.
Step-by-Step Instructions:
- Open both images in Photoshop and drag one image into the other.
- Add a layer mask to the top layer.
- Select the gradient tool and set the foreground color to white.
- Drag the gradient tool across the image to create a smooth transition.
Tips for Creating a Smooth Transition:
- Use a linear gradient for a straight transition.
- Use a radial gradient for a circular transition.
- Use the gradient editor to adjust the colors of the gradient.
Some Advanced Techniques You Can Use
Using Multiple Layer Masks
Using multiple layer masks on a single layer allows you to create more complex compositions. You can use different methods to mask different parts of the image and create a more dynamic image.
Combining Images with Different Resolutions and Aspect Ratios
Combining images with different resolutions or aspect ratios can be challenging, but layer masks can make it easier. You can use the same methods outlined above to mask out the parts of the image that don’t fit and create a seamless blend.
Creating Composites with Layer Masks
Using layer masks to create composites is another advanced technique that can yield impressive results. This involves combining multiple images to create a single image. You can use the same methods outlined above to mask out the parts of the images that you don’t want to show and create a composite image.
Outsourcing Masking Service: Benefits and Considerations
While learning to use layer masks can be a fun and rewarding experience, it can also be time-consuming. Outsourcing masking services can be a great way to save time and focus on other aspects of your work. These services can also be beneficial for businesses and individuals who need high-quality images for commercial use.
Outsourcing to a professional masking service can save you time and money in the long run. Professional masking services have the skills, knowledge, and experience to produce high-quality images with minimal effort on your part. They can also provide detailed revisions and multiple file formats to suit your needs.
Conclusion
Layer masks are an essential tool for anyone working with images in Photoshop. They allow you to seamlessly combine images and create stunning composites. Understanding how layer masks work and how to use them to combine images is an important skill for photographers, graphic designers, and digital artists. Outsourcing masking service can also be a great way to save time and focus on other aspects of your work. Experiment with layer masks and see what you can create!


